Some time ago I bought an early VIC with the PET-style keyboard, but when it arrived the keyboard's PCB had suffered a rather catastrophic fracture:
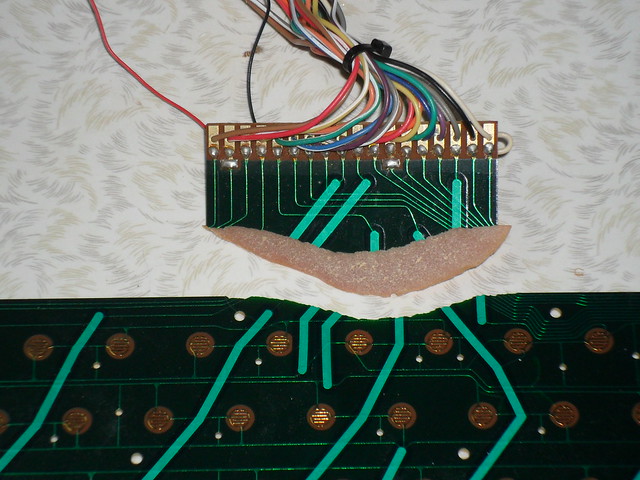
When I finally got around to fixing it recently, I glued the board together with epoxy resin and scraped off the green solder mask in a few spots so I could bridge across the breakage with solder where possible (at the far left and right edges, where there were no multi-layer sections). Mostly, however, I had to attach wires between the random small holes all over the board and the bit that broke off.
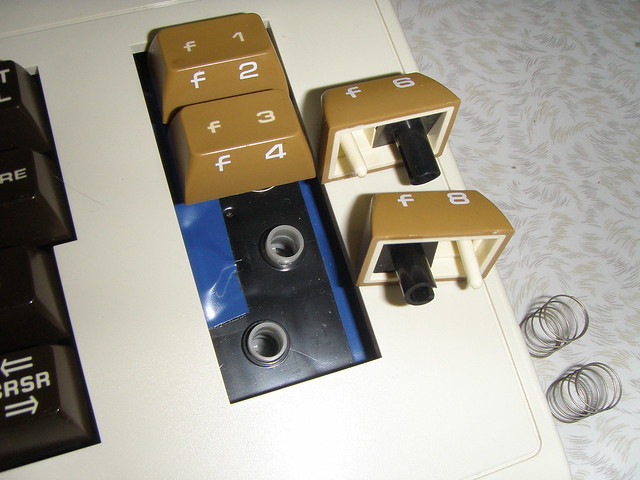
That worked well and I was able to mostly reassemble the repaired keyboard, apart from the F7/F8 key. It is different from all the others and seems to fit onto the black stems backwards compared to them. Does anyone know the details of this key? Is it supposed to match up with a unique part (like one of the white plungers, which only seem to fit in one way) that I inadvertently used elsewhere? This reassembly has come over a year since I dismantled it so I've long forgotten how it came apart!
Unrelated anecdote: another one of my VICs has that dreadful mushy keyboard which uses little silicone domes instead of coil springs; one of the black conductive spots was ruined from a previous owner's botched repair (which I can't fix since half of the broken stem is still superglued into the key...). Anyway, while I've read about repairing these contacts at great expense with some kind of conductive paint, I just stuck on a small scrap of aluminium foil with a glue stick and it's worked fine for over three years now.